How to Edit Multiple Videos at Once (One Style on Every Clip)
Ten clips from one episode shouldn’t mean ten editing sessions. How to put the same zooms, sounds, music and captions on all of them in one go, and when one clip still deserves your hands.
Edit style on every AI clip released November 2, 2026
On this page
The Short Answer
Decide the edit once and apply it to the whole batch. In a timeline editor that means editing one clip, then pasting its attributes onto the others (Paste Attributes in Premiere Pro and DaVinci Resolve).
For clips cut from a long video, StoryCut does it for you: turn on Add my edit style to every clip when you start AI Clips, or press Add to all clips on the clips page afterwards. Every clip gets zooms, sound effects and music at your edit style’s amounts, placed on its own key moments, plus B-roll on the 3 best clips when your style has it.
The edit style on clips is on Pro and up. The caption style and the headline go on every clip on every plan.
Disclosure: StoryCut publishes this guide and makes the tool it describes.
What Should Be the Same on Every Clip, and What Shouldn’t?
Batch editing works when you separate the look from the moments.
The same on every clip (your look): the caption style, the headline look, how strong the zooms are and how they move, how loud the sound effects sit under your voice, how loud the music is, how tightly pauses are cut.
Different on every clip (the moments): where a zoom lands, which words get a sound, which part of the music plays, where a cutaway goes. These depend on what is said, so a copied timeline puts them in the wrong place: a zoom pasted at 0:04 lands at 0:04 on every clip, whatever is being said there.
That is the difference between pasting an edit and applying a style: StoryCut keeps the amounts and the look the same, and finds each clip’s own moments for them.
How to Edit Every AI Clip at Once in StoryCut
Pick your edit style
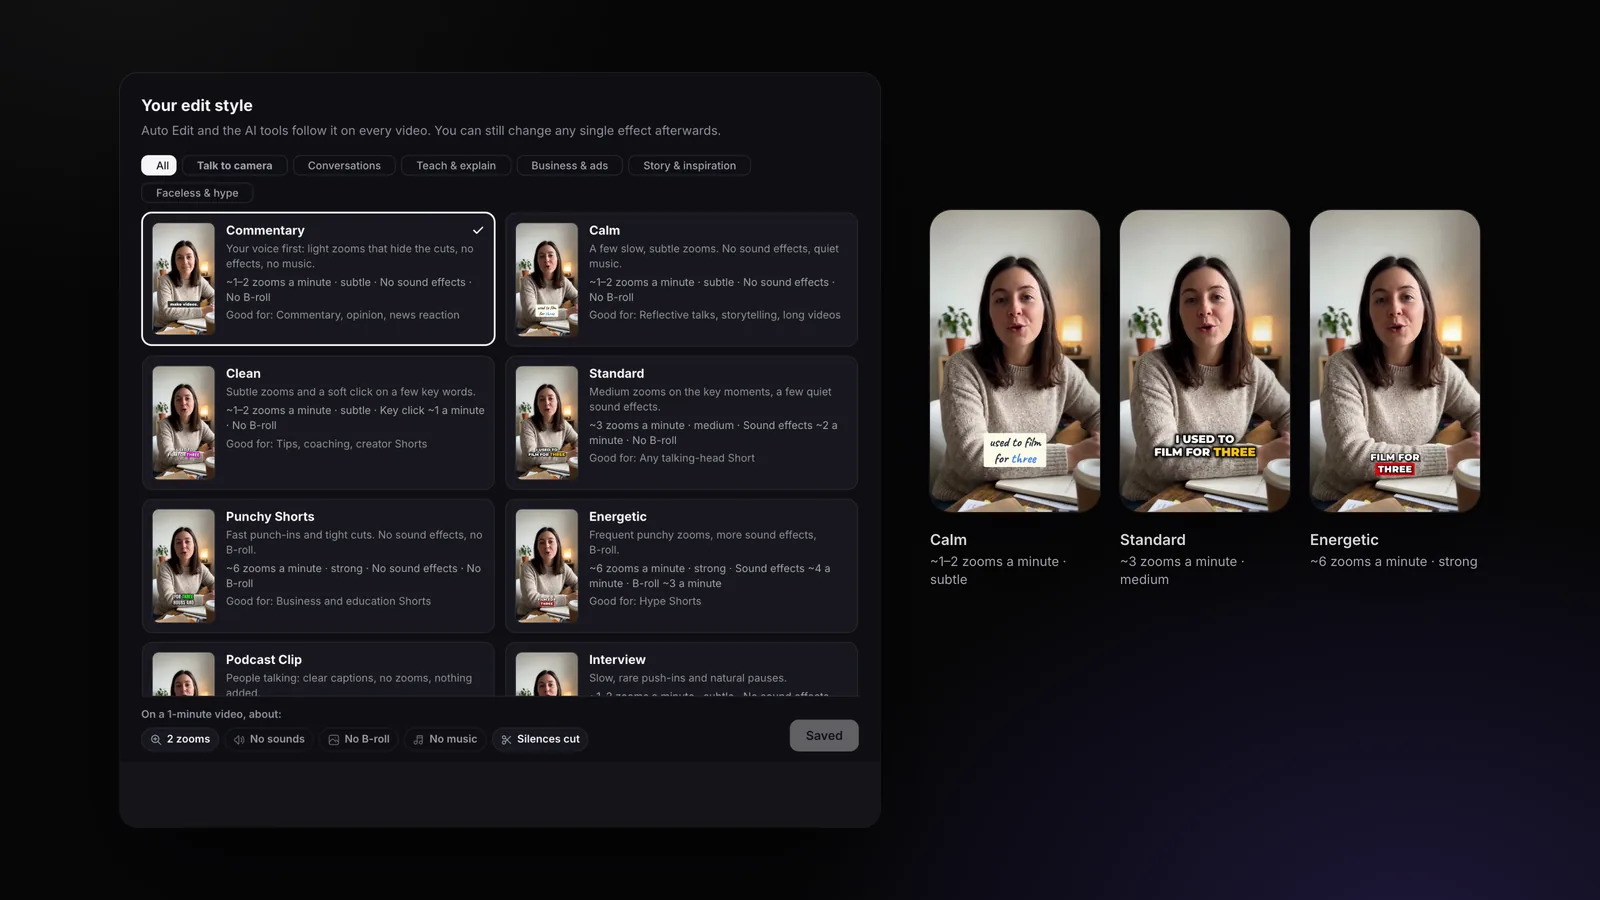
In Settings → Edit style, choose how your clips are edited, from Podcast Clip (nothing added) to Energetic. The 18 styles, with their numbers
Turn it on for the run
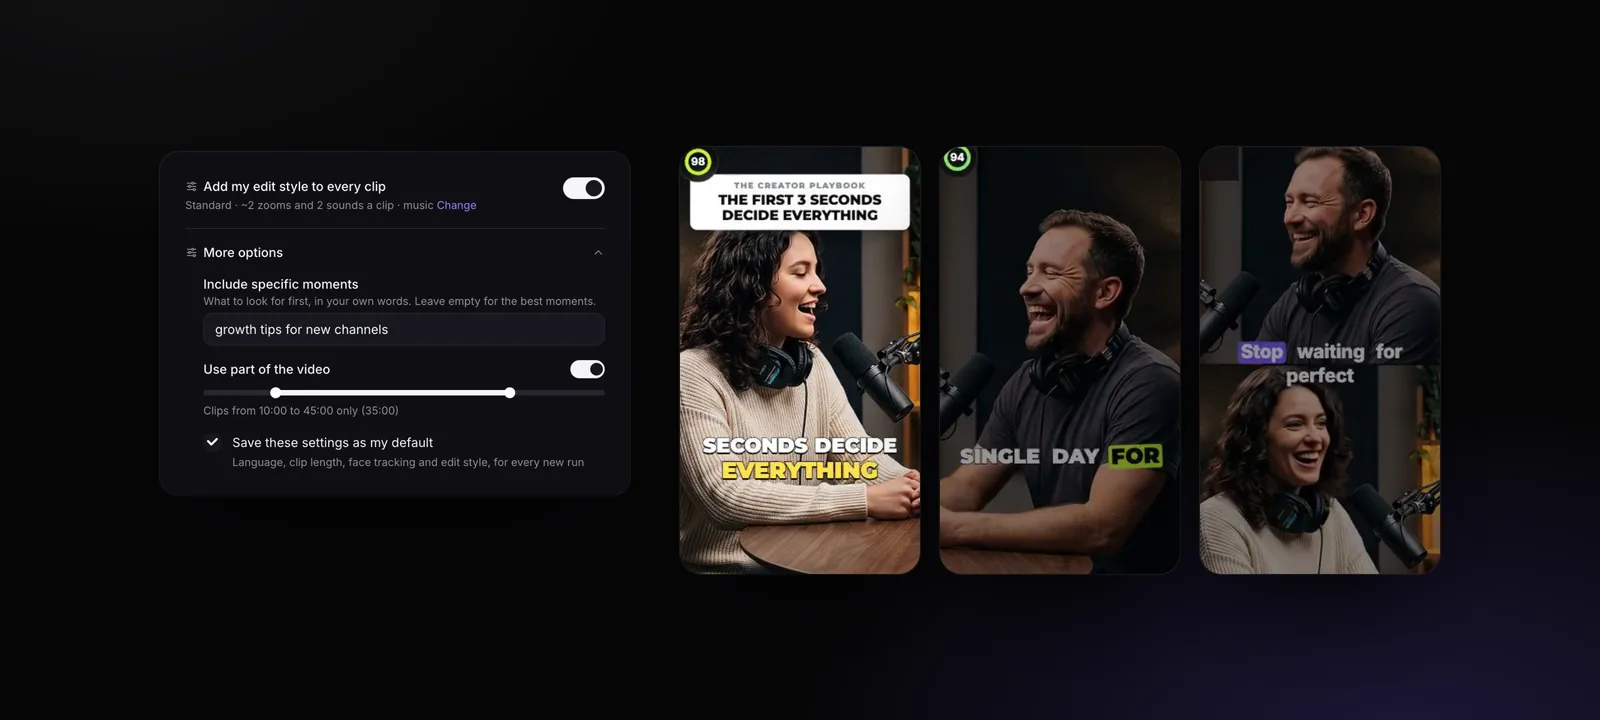
In the AI Clips window, switch on Add my edit style to every clip. It shows your style and what a clip gets, such as "Standard · ~2 zooms and 2 sound effects a clip · music". Open More options → Save these settings as my default to keep it for every run, auto import included.
Or add it after the run
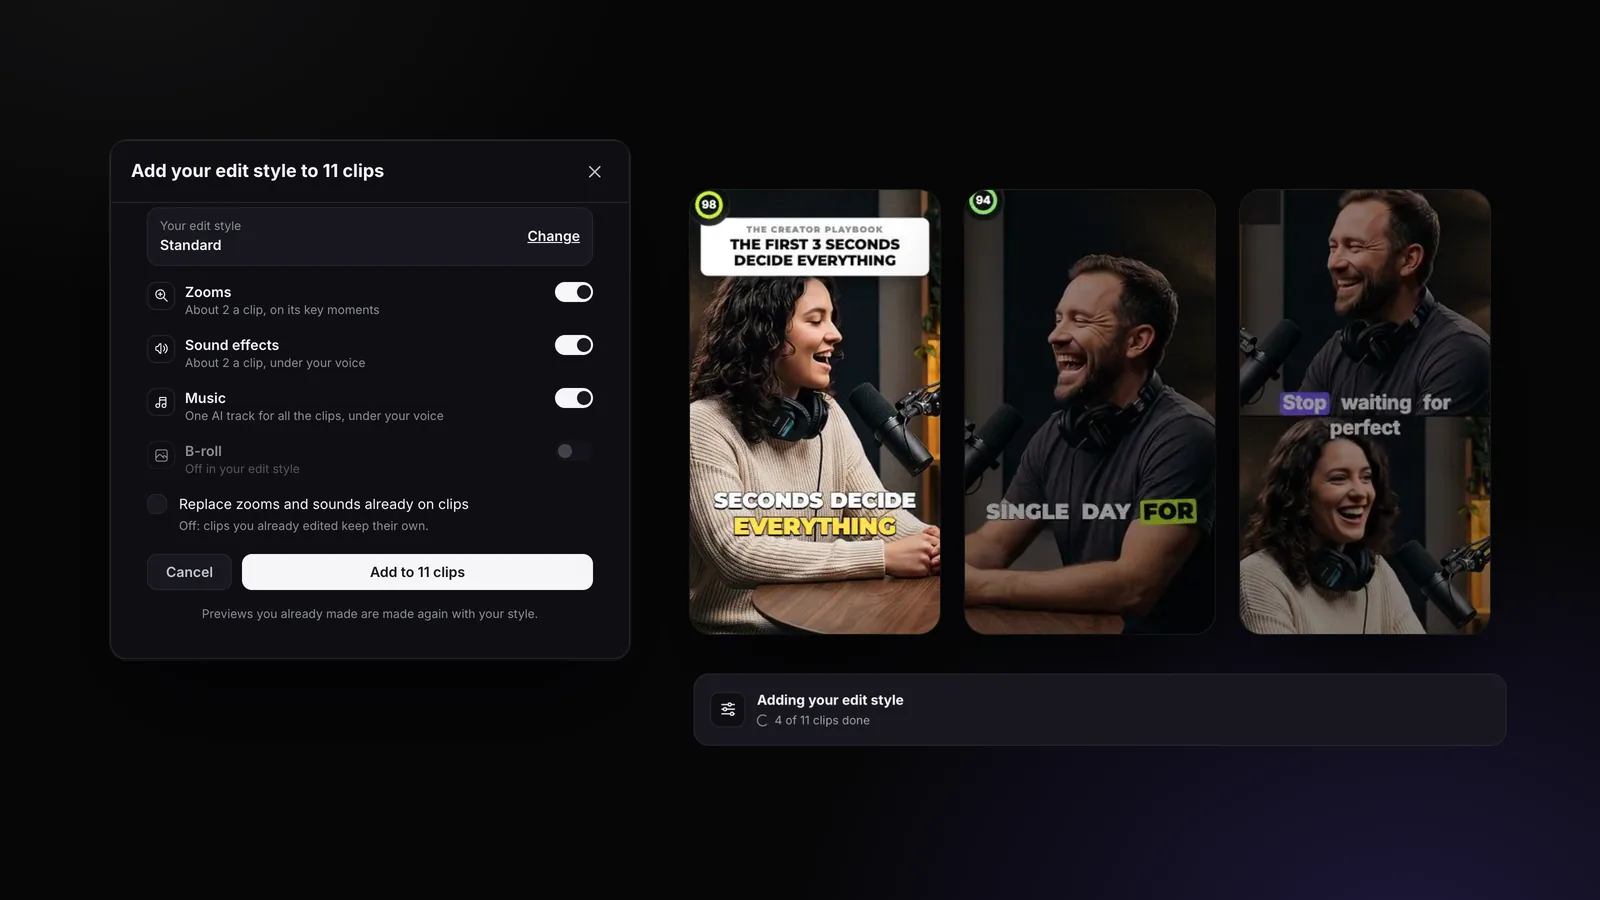
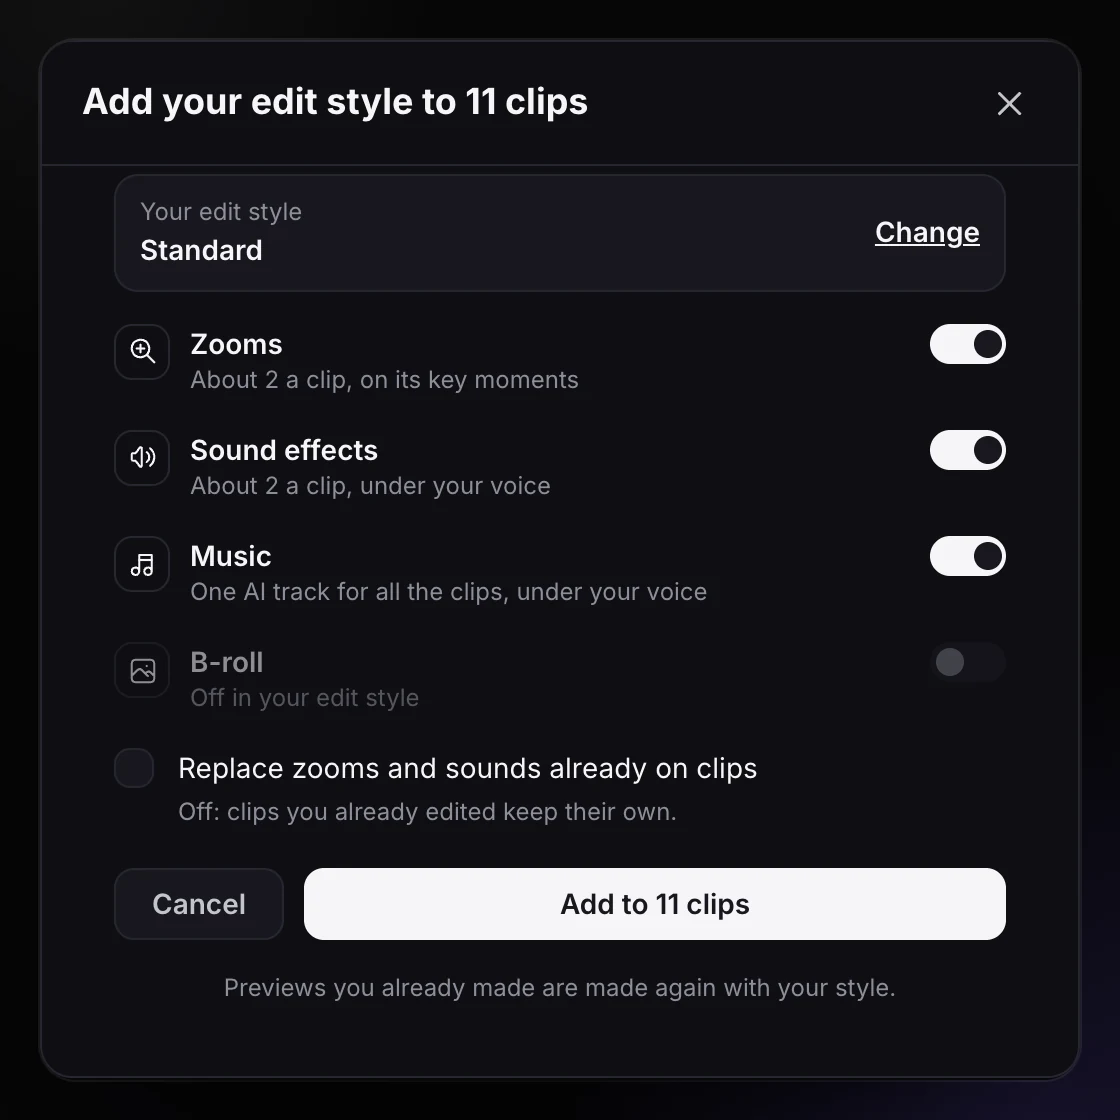
On the clips page, the bar above the clips says Add your edit style to these clips. Press Add to all clips, choose what to add (Zooms, Sound effects, Music, B-roll) and whether to Replace zooms and sounds already on clips. Off, clips you already edited keep their own.
Watch it work through the clips
The bar shows Adding your edit style with how many clips are done. Previews you already made are made again, so they play the zooms, the sounds and the music exactly as the export will.
Fine-tune, then export
Open any clip in the editor to move a zoom or remove a sound, or use a clip card’s ⋯ menu → Add my edit style for one clip. Remove style takes off exactly what the style added. Publishing to YouTube and TikTok: coming soon.
Add Your Edit Style to Every Clip
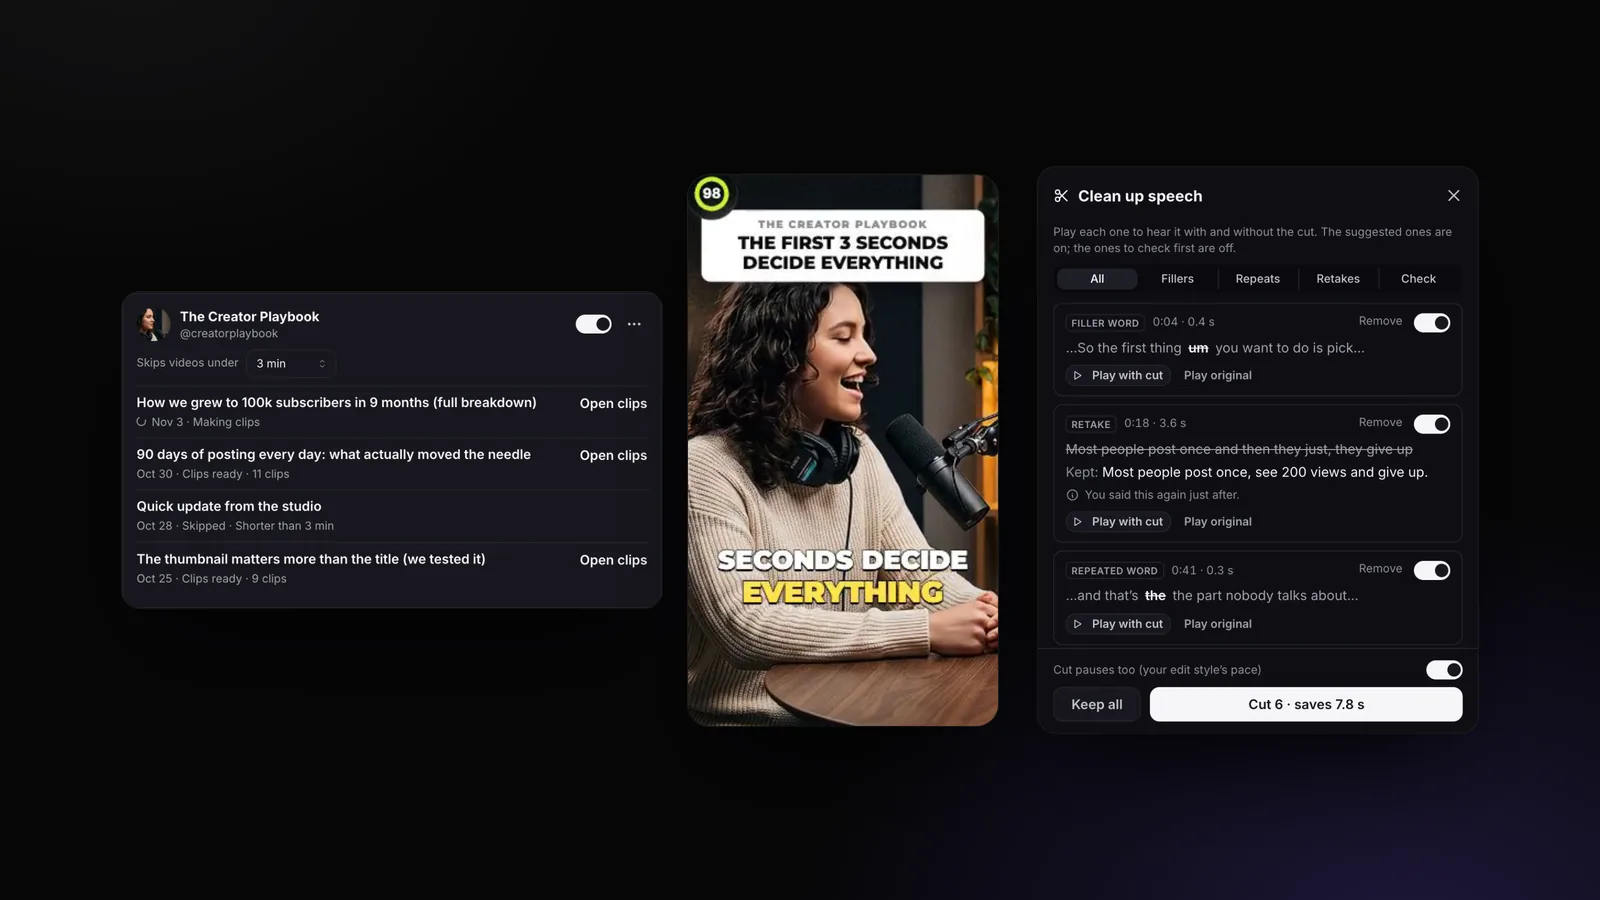
The window behind Add to all clips. Effects your style leaves off (here B-roll) are greyed out.
What Each Clip Gets
- Zooms and sound effects at your style’s amounts, scaled to the clip’s length and placed on its own key moments. With Standard, a 45-second clip gets about 2 zooms and 2 sound effects.
- One music track for the whole run. StoryCut composes one AI track from your video’s transcript, once, and every clip plays its own part of it at your style’s level, so the clips match without sounding identical back to back. A clip that already has music keeps it, unless you tick Replace.
- B-roll on the 3 best clips, when your style has B-roll: full-screen cutaways from stock video.
- The same captions and headline on every clip: the caption style picked in the AI Clips window, and the headline look from your edit style.
If adding the style fails on one clip, the others still get it, and the run’s clips are never lost.
Or Turn It On Before the Run
The same switch in the AI Clips window, with the setup options: Include specific moments, Use part of the video and Save these settings as my default.
Batch Editing in Premiere Pro and DaVinci Resolve
Desktop editors copy an edit from one clip to others:
- Premiere Pro: edit one clip, copy it, select the other clips on the timeline, then Edit → Paste Attributes and tick what to paste (motion, effects, audio effects).
- DaVinci Resolve: copy the edited clip, select the others, then Paste Attributes and choose the video and audio attributes.
- Captions: save one caption style as a preset or template and apply it to each clip’s captions.
This is quick for a look that doesn’t depend on the moment, like a colour grade or a caption style. For zooms, sounds and music it only copies keyframes at the same times, so you still go through every clip to put them on the right words.
Ways to Edit Many Clips, Compared
| Method | What stays the same | What you still do by hand | Best for |
|---|---|---|---|
| Paste attributes (Premiere Pro, Resolve) | Effects, at the same times on every clip | Moving zooms and sounds onto the right words; music; captions | A few clips with a fixed look |
| Caption presets or templates | The caption look | Everything else | Captions only |
| StoryCut edit style on clips | Captions, headline, zoom strength, sound and music levels | Reviewing, tweaking a clip if you want | Many clips from long videos, every week |
| Editing each clip | Nothing | Everything | Your one or two best clips |
When to Edit One Clip by Hand
A style gets every clip to good. Your best clip of the week, a sponsored clip, or one going to a different platform can be worth ten more minutes: a zoom on the exact word, a sound you picked, B-roll you chose. Edit those in the editor after the style is on; the rest of the batch is done.
And if you post every week, connect your channel so new videos are clipped and styled by themselves: how auto import works.