Add Subtitles to Video Automatically
Upload an MP4, MOV or WebM and StoryCut transcribes the speech word by word, then lays out timed subtitles you can edit and style. Export the video with the subtitles burned in, or download them as an SRT file.
- Free plan: videos up to 4 min, 720p with a watermark
- SRT download
- No credit card
Adding subtitles with StoryCut: key facts
- Short answer
- Upload your video. Transcription starts on its own when the upload finishes. Check the words, pick a style and export: you get an MP4 with the subtitles burned in, and you can also download them as an SRT file.
- Price
- Free plan: 3 videos at a time, up to 4 minutes each, 720p export with a “Made with StoryCut” watermark, no credit card. Starter ($7/mo billed yearly) exports 1080p without a watermark, for videos up to 7 minutes.
- Languages
- 49 spoken languages, or let the AI detect the language. Translating subtitles into 33 languages is part of Pro.
- File types
- Upload MP4, MOV, WebM, AVI or MKV. Export an MP4 in 9:16, 4:5, 1:1 or 16:9.
- Subtitle file
- Download an SRT from the editor on every plan, including Free. There is no VTT export.
- Works on
- Any modern browser on a computer or a phone. Nothing to install.
How to add subtitles to a video: the 3 ways
There are three ways to add subtitles to a video. Which one fits depends on how much time you have and where the video will be posted.
1. Use an automatic subtitle generator. A speech-to-text model listens to the audio, writes down every word with its timing and turns it into subtitle lines. You only check the text and choose how it looks. For anything with speech, this is the fastest way, and it’s what StoryCut does.
2. Write a subtitle file by hand. An SRT file is plain text: a number, a start and end time (for example 00:00:01,000 --> 00:00:03,500), then the line of text, repeated for every subtitle. You can type one in any text editor and upload it next to the video on YouTube or any other platform that accepts subtitle files. It works, but timing every line by hand is slow: a few minutes of speech means dozens of lines.
3. Use the captions tool in a video editor or app. Desktop editors such as Adobe Premiere Pro and CapCut can turn speech into captions on their timeline, and TikTok and Instagram offer auto captions when you post. These are fine if you already edit in that tool. The trade-offs are a learning curve (editors) or a plain look that only exists on one platform (apps).
How It Works
How to add subtitles to a video with StoryCut
Three steps, in your browser.
- 01
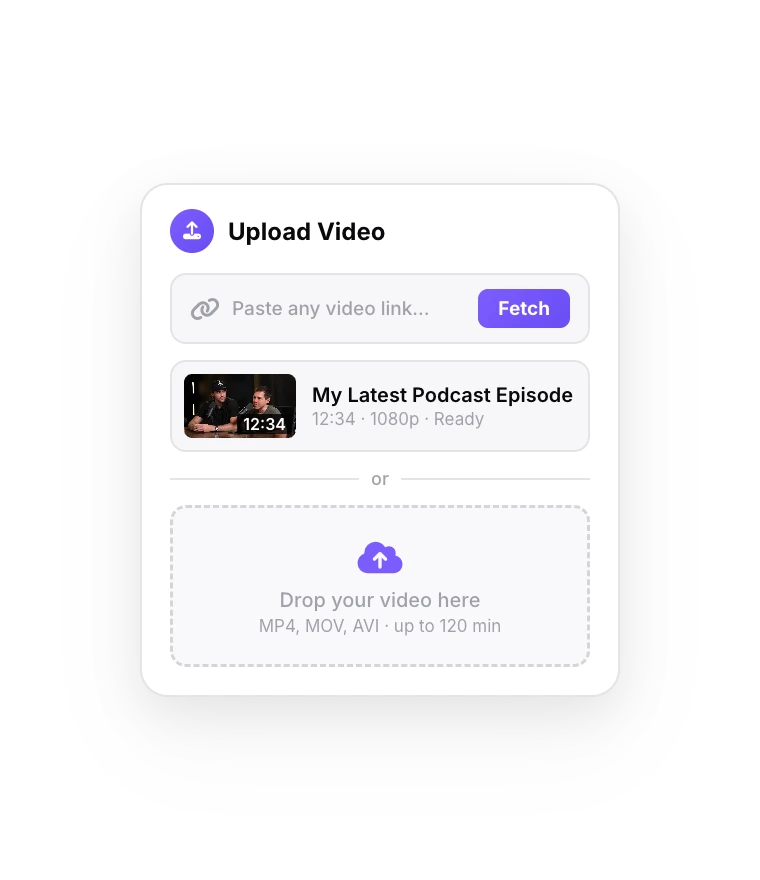
Upload your video
Drag in an MP4, MOV, WebM, AVI or MKV file from your computer or phone. Videos can be up to 4 minutes on Free and up to 30 minutes on Business.
- 02
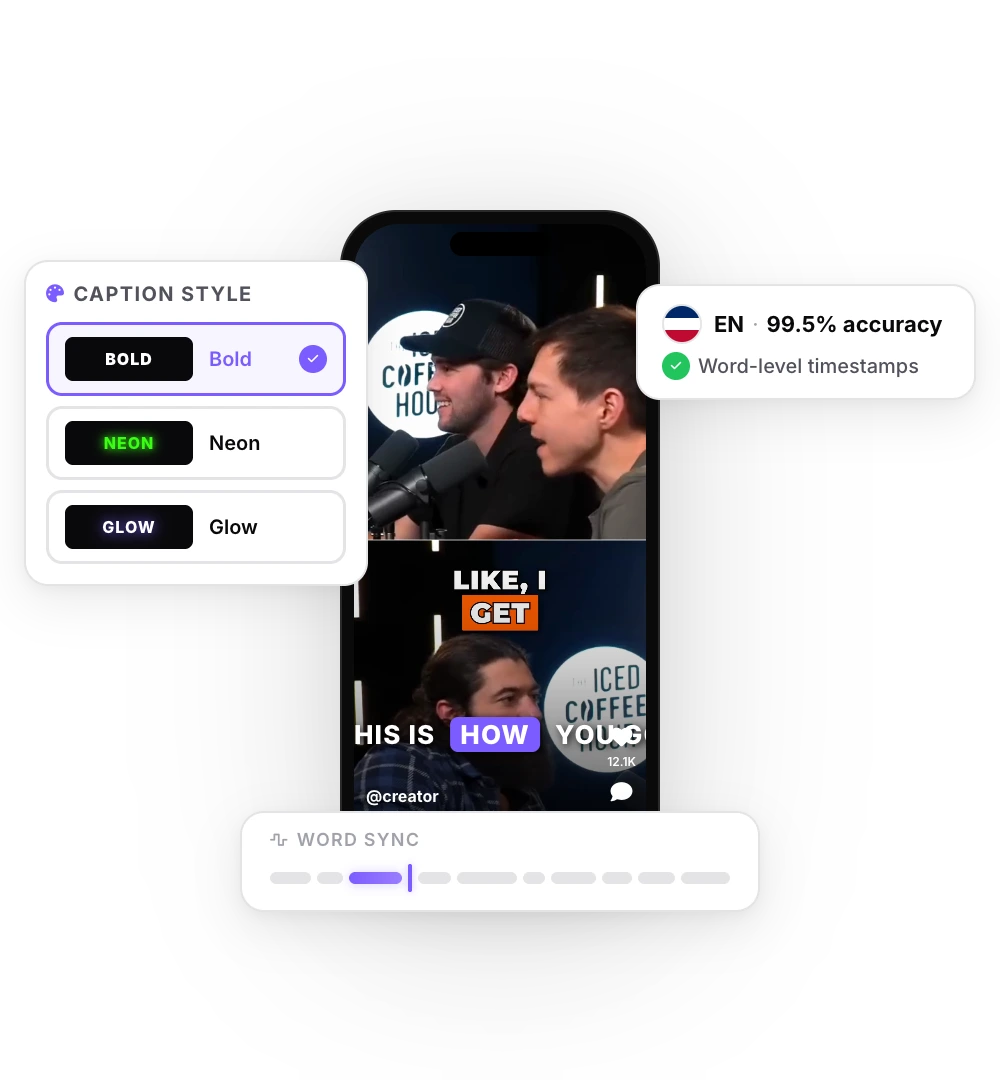
Check the subtitles
Transcription starts as soon as the upload finishes, with timing for every word. Fix any word, adjust the timing, and keep a clean look or pick one of 26 animated styles.
- 03
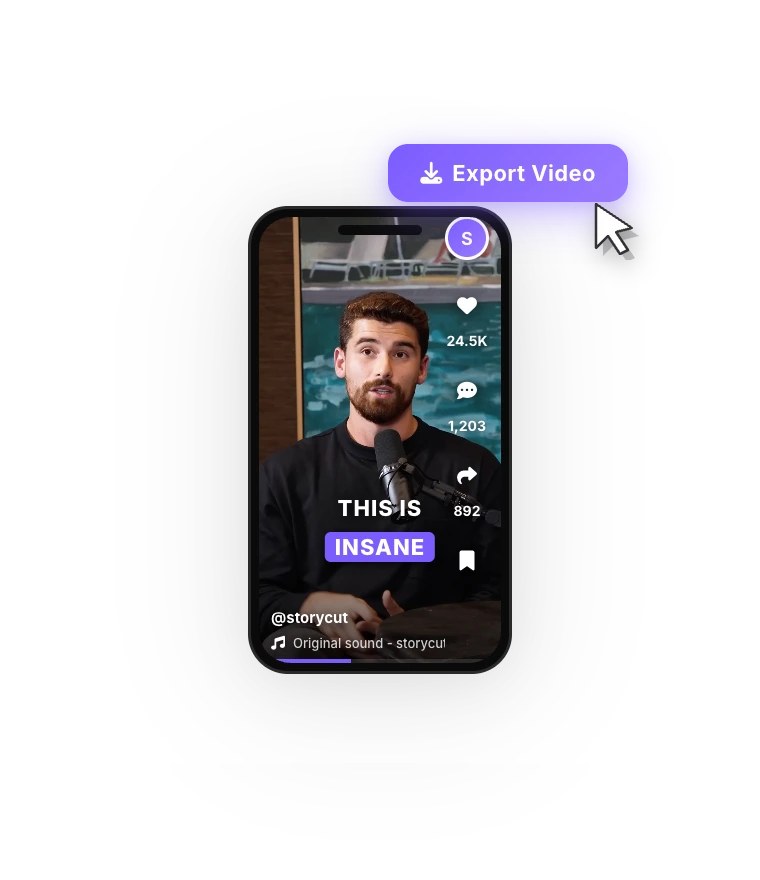
Export or download the SRT
Export an MP4 with the subtitles burned in (720p on Free, up to 4K 60fps on Business), or download the subtitles as an SRT file for YouTube or any player.
Burned-in subtitles or a subtitle file?
Burned-in subtitles (also called hardcoded or open captions) are drawn into the picture. They show on every platform and every phone, even with the sound off, and they can use any font, color and animation. Viewers can’t switch them off or change their language.
A subtitle file such as SRT (closed captions) sits next to the video. Viewers turn it on or off in the player, but it always looks like the player’s default subtitles, and it only works where the platform accepts subtitle files.
For TikTok, Reels and Shorts, burned-in subtitles are the usual choice. For YouTube videos, online courses and video players, uploading an SRT is common. StoryCut gives you both from the same project: export the styled MP4, then download the SRT from the editor menu.
What you can do with your subtitles
Edit like text
Fix any word and adjust timing in the caption list. Names and brand terms are the usual things to check. No timeline to learn.
Plain or animated
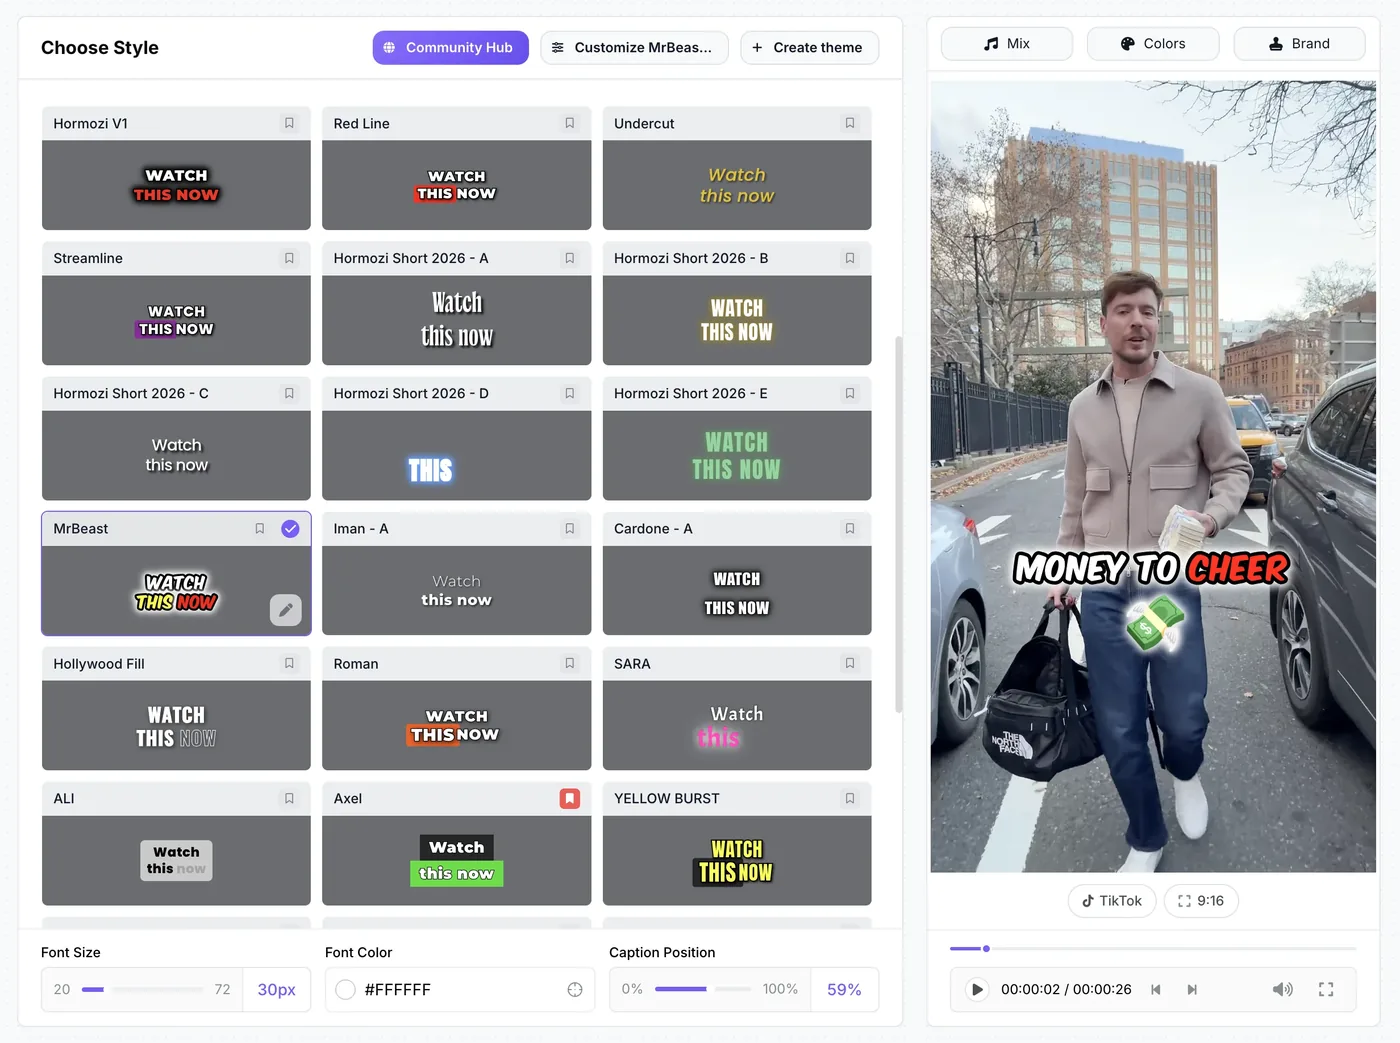
Keep simple subtitles for a tutorial, or use animated word-by-word styles like Hormozi or MrBeast for short-form. Change font, size, colors, position and words per line.
49 languages
The AI detects the spoken language, or you pick it. On Pro, translate the subtitles into 33 languages or dub the voice with AI.
SRT download
Download an SRT file on every plan to upload to YouTube, a course platform or a video player. You can also copy the subtitle text.
How to add subtitles to a video on your phone
StoryCut runs in your phone’s browser, so the steps are the same on an iPhone or an Android phone: open StoryCut, sign up, upload the video from your camera roll, check the subtitles and download the MP4 back to your phone. There is no app to install, and no native app either.
If the video is only going to TikTok or Instagram and plain captions are enough, their built-in caption tools are another option. Use StoryCut when you want styled subtitles that stay on the video wherever you post it, or an SRT file you can reuse.
Upload a video. Your subtitles start as soon as the upload finishes.
FAQ
Frequently Asked Questions
Add Subtitles to Your Next Video
Upload your video. Get back a scroll-stopper with viral captions, cinematic transitions, auto zoom, and clean audio. The same tools top creators use to explode views.
Upload, check the words, export. Free plan with no credit card, SRT download included.
- Join 10,000+ creators
- No credit card required
You Might Also Like
Auto Subtitle Generator for Any Video
StoryCut’s AI listens to your video, writes down every word with its timing and turns it into subtitles you can edit. Burn them into the video in a clean or animated style, or download an SRT file.

Add Animated Captions to Any Video
Upload a video and StoryCut adds animated, word-level captions automatically, with 99.5% accuracy across 50+ languages. Pick a style, fix any word, export. No editing skills needed.
How to Add Captions on TikTok
TikTok can caption your video for you, and for many posts that’s enough. When you want bold, animated subtitles that stay on the video wherever it’s posted, StoryCut’s TikTok subtitle generator burns them in. Here are the steps for both.

AI video editor for creators who want viral content without the editing grind.
Features
All FeaturesAI CaptionsHormozi CaptionsMrBeast CaptionsAdd Subtitles to VideoSubtitle GeneratorAI Video EditorAI Clip GeneratorYouTube to ShortsEye Contact FixMagic ZoomTransitionsClean AudioAI MusicSound EffectsAI Auto EditRemove SilenceAI ThumbnailsBrand KitsCommunity StylesAI Video TranslatorFree Tools
Video Hook GeneratorTikTok CaptionsInstagram CaptionsYouTube TitlesTikTok HashtagsVideo Script GeneratorAI Video IdeasContent CalendarTikTok TranscriptVideo to TextFree SRT GeneratorSubtitle TranslatorFree TeleprompterWords to MinutesSRT to VTT ConverterTikTok Safe ZoneFree Sound EffectsAll 40 Tools →Use Cases
TikTok CreatorsYouTube ShortsInstagram ReelsPodcastersClippersAgencies & TeamsLinkedIn VideosTeleprompter Eye ContactPremiere Pro Eye ContactDaVinci Resolve Eye ContactFinal Cut Pro Eye ContactLoom Eye Contact